Are you considering upgrading your bathroom with a bidet toilet seat? Not only is it a cost-effective solution, but it also offers unparalleled cleanliness and comfort. Installing a bidet toilet seat may seem daunting at first, but with our step-by-step guide, you’ll have it up and running in no time.
Whether you opt for a bidet seat or a bidet sprayer, our easy installation process will take you through each essential step. From preparing your bathroom to connecting the water lines, we’ve got you covered.
Key Takeaways:
- Installing a bidet toilet seat is a simple and cost-effective way to upgrade your bathroom.
- Consider factors like bidet seat selection, shut-off valve location, and bathroom size before installation.
- Removing the existing seat, attaching the mounting plate, and adjusting placement are crucial steps in bidet seat installation.
- Connecting the bidet water line involves detaching the toilet’s supply hose, attaching the bidet T-valve, and securing all connections properly.
- When opting for warm water options, explore non-electric bidet models or ensure a nearby GFCI outlet for electric bidet models.
Before Installing a Bidet
Before you begin installing a bidet toilet seat, there are a few things to consider. First, decide whether you want a bidet seat or a bidet sprayer, based on your preferences and bathroom size. A bidet seat offers a more integrated and luxurious experience, while a bidet sprayer is a cost-effective option that easily attaches to your existing toilet. Consider the space available in your bathroom and choose the option that best suits your needs.
Next, locate and turn off the shut-off valve to stop the water supply to the toilet. This valve is typically located near the base of the toilet or on the wall behind the toilet. Turning off the shut-off valve will prevent any water flow while you install the bidet. To ensure there is no remaining water in the tank, flush the toilet after turning off the valve. Keep a towel or bucket nearby to catch any residual water.
It’s also important to consider the size and layout of your bathroom before installing a bidet. Measure the available space to ensure the bidet toilet seat or sprayer will fit properly without obstructing any other fixtures or furniture. If your bathroom is small, you may need to choose a compact bidet seat or opt for a bidet sprayer that offers more flexibility in installation.
Lastly, if you’re planning any plumbing renovations in your bathroom, it’s a good idea to coordinate the installation of the bidet toilet seat with your plumber. They can ensure that the necessary plumbing connections are in place and make any adjustments required for a seamless installation.
| Pros of Bidet Seat | Pros of Bidet Sprayer |
|---|---|
| Integrated and luxurious experience | Cost-effective |
| Additional features like heated seat and air dryer | Easy installation |
| Fits seamlessly with your toilet | Can be used with existing toilet |
How to Install a Bidet Toilet Seat
Installing a bidet toilet seat is a straightforward process that can transform your bathroom experience. Follow these steps to ensure a successful bidet seat installation.
Step 1: Removal of Existing Seat
To begin, remove the existing toilet seat by locating the bolts or screws that secure it to the toilet bowl. Use a screwdriver or adjustable wrench to loosen and remove the fasteners. Once the seat is detached, lift it off the toilet bowl and set it aside.
Step 2: Mounting Plate
With the old seat removed, it’s time to attach the bidet seat mounting plate. The mounting plate serves as the foundation for the bidet seat installation. Place the mounting plate onto the toilet bowl, aligning it with the holes left by the previous seat. Make sure the plate is level and centered.
Step 3: Adjusting Placement
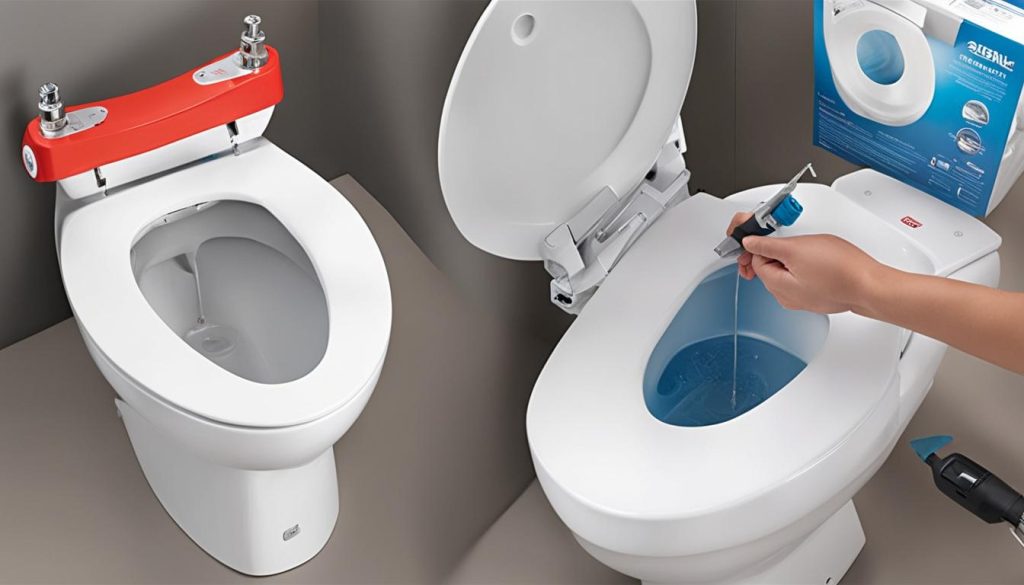
Now it’s time to slide the bidet seat onto the mounting plate. Start by positioning the seat above the mounting plate, then carefully lower it down until it rests on the plate. Ensure that the seat is securely attached by tightening the bolts or screws provided with the bidet seat.
Adjust the placement of the bidet seat if necessary. It’s important to find a comfortable position that aligns with your body and reaches the desired cleansing area. Take your time to determine the optimal placement before finalizing the installation.
Step 4: Finishing Touches
Once the bidet seat is securely installed, give it a final check to ensure it is stable and properly aligned. Confirm that all attachments are secure and tight. Clean the area around the bidet seat, removing any fingerprints or smudges.
Now, you’re ready to enjoy the comfort and convenience of your newly installed bidet toilet seat!
How to Hook Up a Bidet Water Line
Connecting the bidet water line is a crucial step in the installation process, ensuring proper functionality of your bidet toilet seat. Follow these steps to ensure a secure and efficient connection.
Step 1: Detach the Toilet’s Flexible Water Supply Hose
Begin by locating the flexible water supply hose connected to the toilet tank. Gently unscrew the nut connecting the hose to the tank and set it aside.
Step 2: Attach the Bidet T-Valve
Next, take the bidet T-valve and connect it to the base of the toilet tank where the water supply hose was previously attached. Make sure the T-valve is securely fastened to prevent any leaks.
Step 3: Connect the Water Supply Hose
Take the end of the water supply hose and connect it to the T-valve. Ensure that the connection is tightened to avoid any water leakage.
Step 4: Connect the Bidet Hose
Now, take one end of the bidet hose and connect it to the other opening on the T-valve. Ensure that the connection is secure to prevent any water loss.
Step 5: Secure All Connections
Before proceeding, double-check all the connections: the water supply hose to the T-valve, the bidet hose to the T-valve, and the bidet hose to the bidet seat. Tighten any loose connections to ensure a firm and leak-free installation.
Step 6: Turn on the Water using the Shutoff Valve
Now that all the connections are secure, it’s time to turn on the water supply. Locate the water shutoff valve near the toilet and open it to allow water flow to the bidet seat. Keep an eye out for any potential leaks and tighten any connections if necessary.
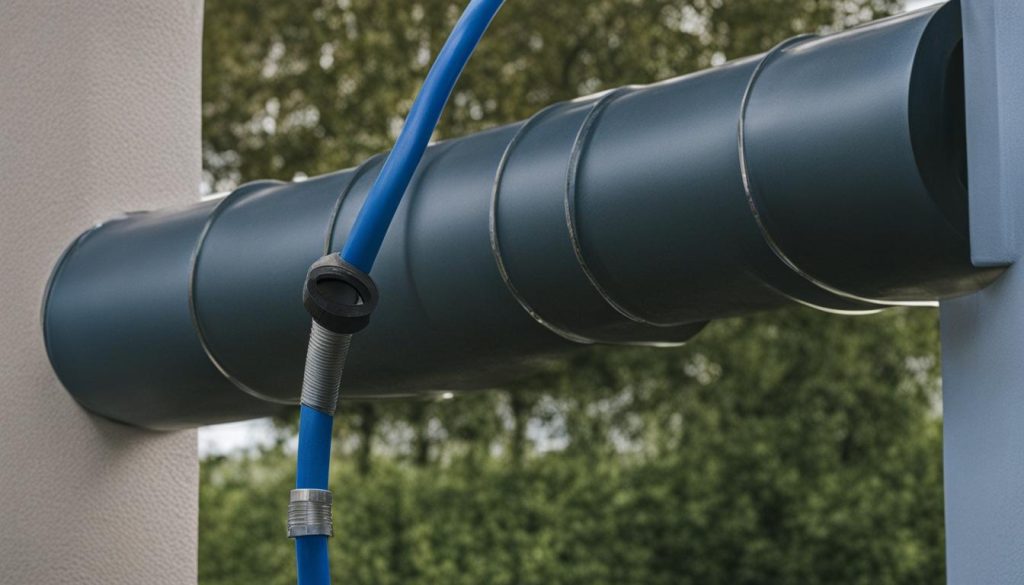
With the bidet water line successfully hooked up, you’re one step closer to experiencing the comfort and cleanliness of a bidet toilet seat.
Warm Water Options
If you prefer warm water for your bidet, there are a couple of options available to you. Whether you have a non-electric bidet model or an electric bidet with advanced features, you can enjoy the comfort of warm water during each use.
Non-electric Bidet Models
For non-electric bidet models, you can utilize a “T” or “Y” valve to bring hot water from your sink’s supply line to your bidet. This allows for a warm water supply without the need for electricity. Simply install the valve between the hot water shut-off valve and the toilet tank. This will provide warm water for your bidet whenever you need it.
Electric Bidet Models
If you opt for an electric bidet model with features like instant warm water, you will need a nearby electric outlet to power the bidet’s heating system. It is essential to ensure that the outlet is properly protected by a ground fault circuit interrupter (GFCI) to prevent electrical hazards.
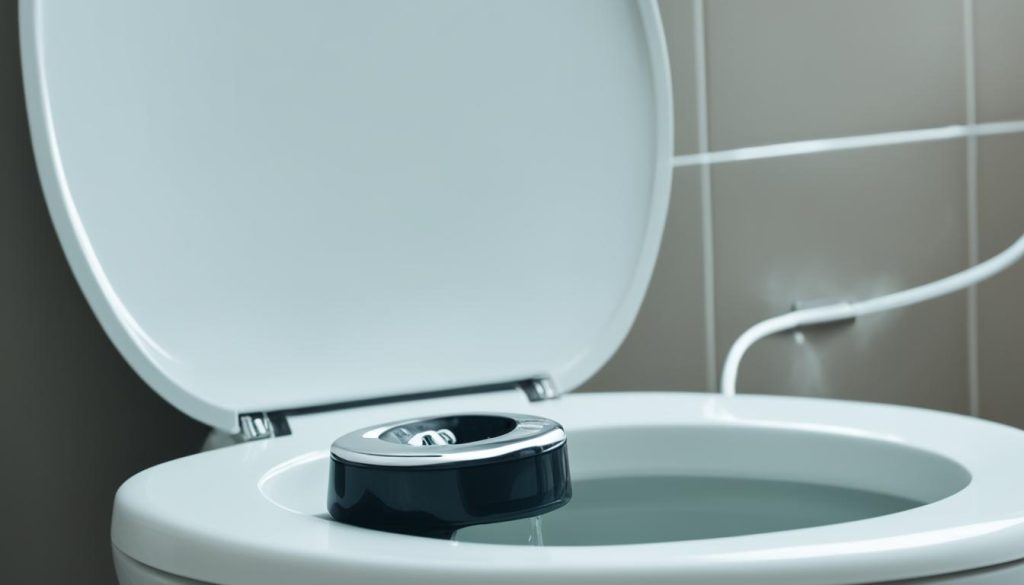
Installing an electric bidet requires adherence to local electrical codes. It is important to follow the manufacturer’s instructions and consult a qualified electrician if needed to ensure a safe and functional installation.
With warm water options available for both non-electric and electric bidets, you can customize your bathroom experience to suit your preferences and enhance your comfort.
How to Install a Hand-Held Bidet Sprayer
Installing a hand-held bidet sprayer is a simple process that can provide you with enhanced hygiene and convenience in your bathroom. Follow these steps to successfully install your bidet sprayer:
1. Detach the toilet’s flexible water supply hose: Begin by turning off the water supply to the toilet and disconnecting the existing water supply hose from the tank. Ensure the water is fully shut off before proceeding.
2. Attach the bidet T-valve: Use a wrench to securely attach the bidet T-valve to the base of the toilet tank. Make sure it is tightened properly to prevent any leaks.
3. Connect the water supply hose and sprayer hose: Attach one end of the water supply hose to the T-valve and the other end to the hand-held bidet sprayer. Ensure the connections are snug and leak-free.
4. Install the holster clip: Choose a suitable location on the tank or wall to install the holster clip for your bidet sprayer. Make sure it is securely fastened to hold the sprayer when not in use.
Once you have completed these steps, your hand-held bidet sprayer is ready to use. Make sure to test it for any leaks and adjust the water pressure to your preference. Enjoy the convenience and cleanliness that a bidet sprayer can bring to your bathroom routine!
FAQ
What is a bidet toilet seat?
A bidet toilet seat is a device that attaches to your existing toilet and provides cleansing and hygiene functions through a spray of water.
How do I choose between a bidet seat and a bidet sprayer?
The choice between a bidet seat and a bidet sprayer depends on your preferences and bathroom size. Bidet seats offer more features and convenience, while bidet sprayers are more affordable and easier to install.
Do I need any special tools to install a bidet toilet seat?
No, you don’t need any special tools. Most bidet toilet seats come with all the necessary hardware and installation instructions.
Can I install a bidet toilet seat myself?
Yes, installing a bidet toilet seat is a simple do-it-yourself project that can be completed with basic plumbing knowledge and tools.
Do bidet toilet seats require electricity?
Not all bidet toilet seats require electricity. Non-electric models rely on water pressure to function, while electric models offer additional features such as heated water and seat warming.
How long does it take to install a bidet toilet seat?
The installation time can vary depending on your level of experience, but on average, it takes about 30 minutes to an hour to install a bidet toilet seat.
Can I still use toilet paper with a bidet toilet seat?
Yes, you can still use toilet paper if you prefer. However, bidet toilet seats provide a more hygienic and environmentally friendly alternative to traditional toilet paper.
Are bidet toilet seats adjustable?
Yes, most bidet toilet seats are adjustable. You can adjust the water pressure, temperature, and spray position to suit your preferences.
How do I clean and maintain a bidet toilet seat?
Cleaning and maintaining a bidet toilet seat is relatively simple. Regularly wipe down the seat with a mild cleanser and water, and periodically clean the nozzles with vinegar or a manufacturer-approved solution.
Can I remove the bidet toilet seat if needed?
Yes, bidet toilet seats are designed to be removable. Most models have a quick-release button that allows you to easily remove and reinstall the seat as needed.

