cleanyourbutt.com and its partners may earn a commission if you purchase a product through one of our links
Installing a bidet with warm water in your bathroom can greatly enhance your hygiene experience. Whether you’re looking for a bidet toilet seat or a bidet sprayer, the installation process is relatively straightforward. In this guide, we will provide you with step-by-step instructions on how to install a bidet with warm water in your bathroom.
Key Takeaways:
- Installing a bidet with warm water can improve your hygiene and offer potential savings on toilet paper.
- Choose between a bidet toilet seat or a bidet sprayer based on your preferences and bathroom setup.
- Before installation, turn off the water supply to the toilet and empty the tank.
- Follow the specific installation instructions for the chosen bidet type and ensure all connections are secure.
- Consider using a T-valve for warm water or opt for an electric bidet with instant warm water features.
Before Installing a Bidet
Prior to embarking on the bidet installation process, there are a few essential considerations to keep in mind. First and foremost, you must decide whether you prefer a bidet toilet seat or a bidet sprayer. This decision will dictate the specific steps you need to take during the installation process. Once you have made your selection, it is time to prepare your bathroom and gather the necessary tools.
- Bidet Installation Tips:
- Turn off the water supply to the toilet: Locate the shut-off valve near the base of the toilet and turn it clockwise until it is fully closed. This will prevent any water flowing into the toilet during the installation process.
- Empty the toilet tank: Flush the toilet and hold down the handle until all the water has been drained from the tank. This step will allow you to work with a dry environment during the installation.
- Prepare a towel or bucket: Even after emptying the tank, there may still be residual water in the tank or hose. Having a towel or bucket on hand will help you catch any water that may escape during the installation.
Following these bidet plumbing guide instructions will ensure that you are well-prepared and ready to proceed with the installation process. Now that you have taken the necessary precautions, you are ready to move on to the next step of installing your warm water bidet.
| Tool | Description |
|---|---|
| Adjustable wrench | To tighten and loosen nuts and bolts |
| Screwdriver | To remove the existing toilet seat or access panels |
| Teflon tape | To secure water connections and prevent leaks |
| Bucket or towel | To catch any water during the installation process |
| All-purpose cleaner | To clean the toilet and surrounding area |
How to Install a Bidet Toilet Seat
Installing a bidet toilet seat is a relatively simple process. Follow these step-by-step instructions to successfully install your bidet seat:
- Start by removing the existing toilet seat. Unscrew the bolts that hold the seat in place and carefully lift it off.
- Next, clean the rim of the toilet bowl to ensure a clean surface for installation.
- Attach the bidet seat mounting plate to the toilet bowl using the provided bolts. Make sure to tighten them securely.
- Slide the bidet seat onto the mounting plate, aligning it properly with the front and back of the toilet bowl.
- Adjust the placement of the bidet seat as needed to ensure a comfortable fit.
- Secure all connections by tightening the mounting bolts and ensuring that the bidet seat is firmly in place.
- Finally, test the bidet for proper function by turning on the water supply and using the control panel or remote to activate the bidet features.
Installing a bidet toilet seat is a great way to upgrade your bathroom and enjoy the benefits of improved hygiene. With these easy-to-follow steps, you’ll have your bidet seat installed in no time.
“Installing a bidet toilet seat is a simple and affordable way to enhance your bathroom experience. With just a few steps, you can enjoy the comfort and cleanliness of a bidet right in your own home.”
How to Hook Up a Bidet Water Line
Now that you have successfully installed your bidet toilet seat or bidet sprayer, it’s time to connect the bidet water line. This step is crucial to ensure the proper functioning of your bidet and provide you with a refreshing and hygienic experience. Follow these simple steps to hook up the bidet water line:
- Start by detaching the toilet’s flexible water supply hose from the base of the tank. Use a wrench or pliers, if necessary, to loosen and remove the hose.
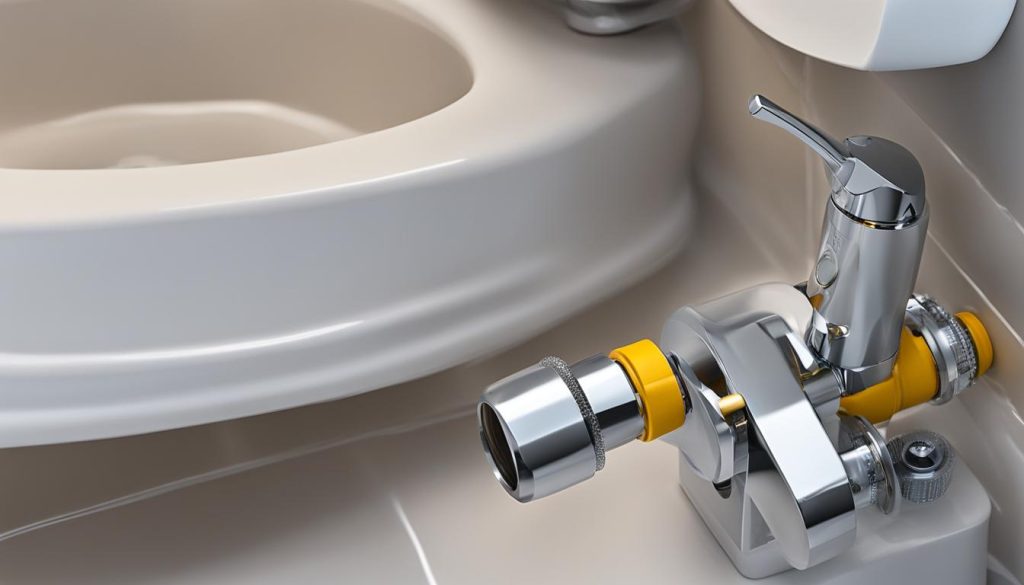
- Next, you will need to attach the bidet T-valve to the base of the tank. The T-valve acts as a connector between the toilet’s water supply and the bidet. Make sure to securely tighten the T-valve in place.
- Connect the water supply hose to the lower connection of the T-valve. Again, ensure that the connection is tight to avoid any leaks.
- Now, it’s time to attach one end of the bidet hose to the upper connection of the T-valve. This hose will transport water from the T-valve to the bidet seat or sprayer.
- Finally, attach the other end of the bidet hose to the bidet seat or sprayer. Make sure all connections are secure and snugly fit to prevent any water leakage.
Once you have completed these steps, you are ready to test your bidet’s water supply. Turn on the water gradually and check for any leaks or loose connections. It is recommended to run the bidet for a few minutes to ensure the water flows smoothly and there are no issues.
Remember: If you encounter any difficulties during the bidet water line installation, it is always recommended to consult the manufacturer’s instructions or seek professional assistance.
| Bidet Water Line Installation Checklist | Status |
|---|---|
| Detached toilet’s flexible water supply hose | Completed |
| Attached bidet T-valve to the base of the tank | Completed |
| Connected water supply hose to T-valve | Completed |
| Attached bidet hose to T-valve | Completed |
| Attached bidet hose to bidet seat or sprayer | Completed |
| Checked for leaks and secure connections | Pending |
By following these steps and ensuring a proper connection, you can enjoy the convenience and comfort of your newly installed bidet with a reliable water supply.
Warm Water Options
If you’re considering a bidet for your bathroom, having warm water can enhance your cleansing experience. There are a few options available for incorporating warm water into your bidet setup.
Using a T-Valve
If you have a non-electric bidet model, one simple option is to use a T-valve to connect the bidet to your sink’s hot water supply. This allows you to enjoy the comfort of warm water during each use. The T-valve diverts the hot water from the sink to your bidet, providing a refreshing and soothing experience.
Electric Bidet with Instant Warm Water
If you prefer the convenience of instant warm water at the touch of a button, an electric bidet may be the perfect choice for you. Electric bidets come equipped with heating elements that warm the water before it reaches you. To install an electric bidet, you will need an electrical outlet in your bathroom. Make sure the outlet is protected by a ground fault circuit interrupter (GFCI) for safety. Following the necessary electrical code requirements ensures a seamless and secure installation.
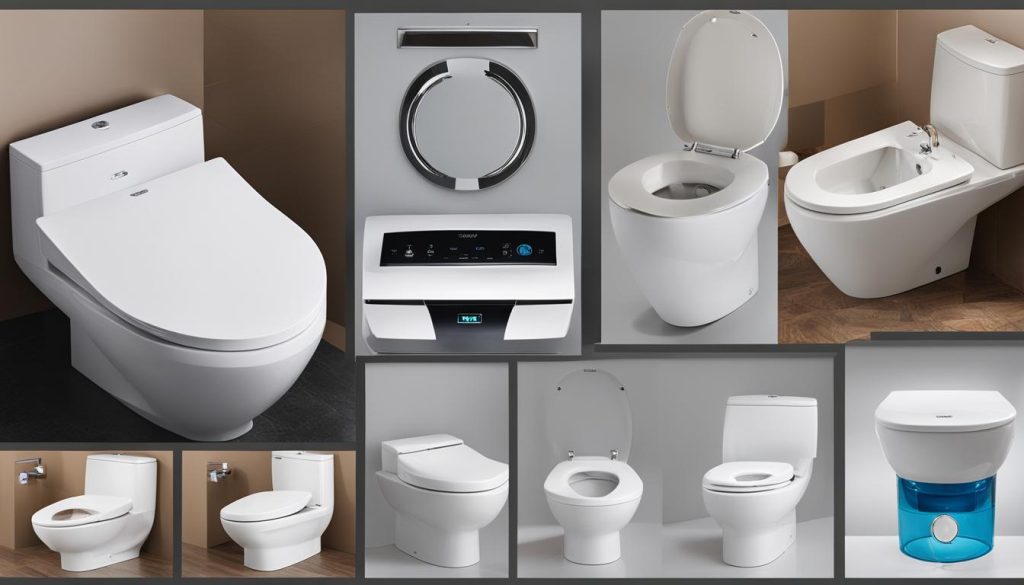
Having warm water with your bidet provides additional comfort and a more enjoyable hygiene routine. Whether you opt for a T-valve connection or an electric bidet, you can customize your bidet experience to suit your preferences.
How to Install a Hand-Held Bidet Sprayer
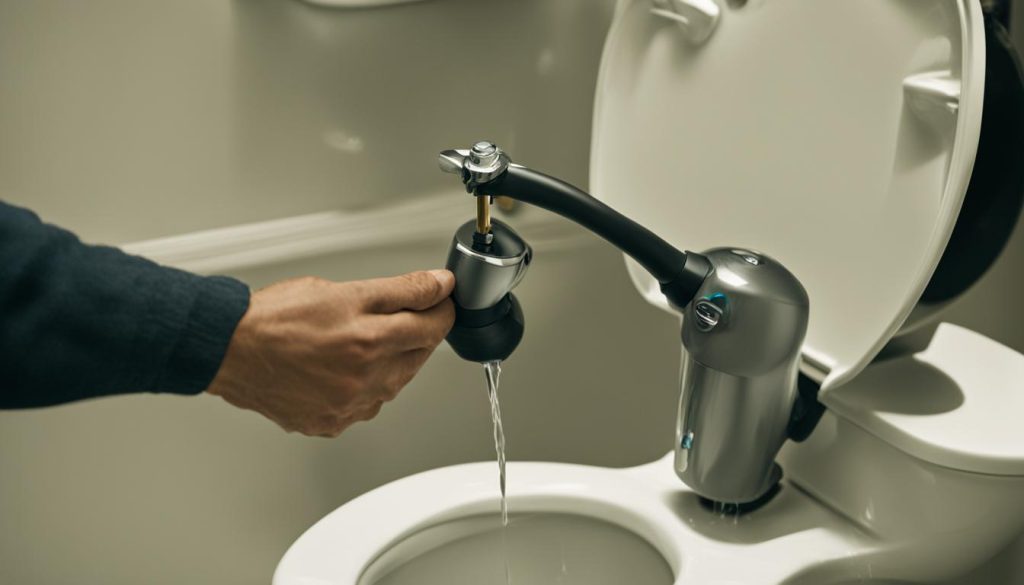
If you choose to install a hand-held bidet sprayer, the process is similar to installing a bidet toilet seat. Follow the steps below to successfully install your bidet sprayer:
- Determine the most convenient side of the toilet for the sprayer.
- Detach the toilet’s flexible water supply hose from the base of the tank.
- Attach the bidet T-valve to the base of the tank.
- Connect the water supply hose to the lower connection of the T-valve.
- Attach the sprayer hose to the upper connection of the T-valve.
- Secure all connections to ensure there are no leaks.
- Test the bidet sprayer to ensure it is functioning properly.
Installing a hand-held bidet sprayer is a simple process that can enhance your bathroom experience. By following this bidet sprayer installation guide and attaching the bidet sprayer hose correctly, you’ll be able to enjoy the benefits of a bidet in no time.
Why Choose a Hand-Held Bidet Sprayer?
A hand-held bidet sprayer provides flexibility and ease of use. You can adjust the water pressure and angle according to your preference. It also allows for easy cleaning of the toilet bowl and other bathroom fixtures. With a hand-held bidet sprayer, you get a versatile and convenient solution for maintaining proper hygiene.
Now that you’ve learned how to install a hand-held bidet sprayer, you can enjoy the benefits of bidet usage in your bathroom.
How to Install a Freestanding Bidet
Installing a freestanding bidet requires appropriate plumbing and may not be suitable for bathrooms with limited space.
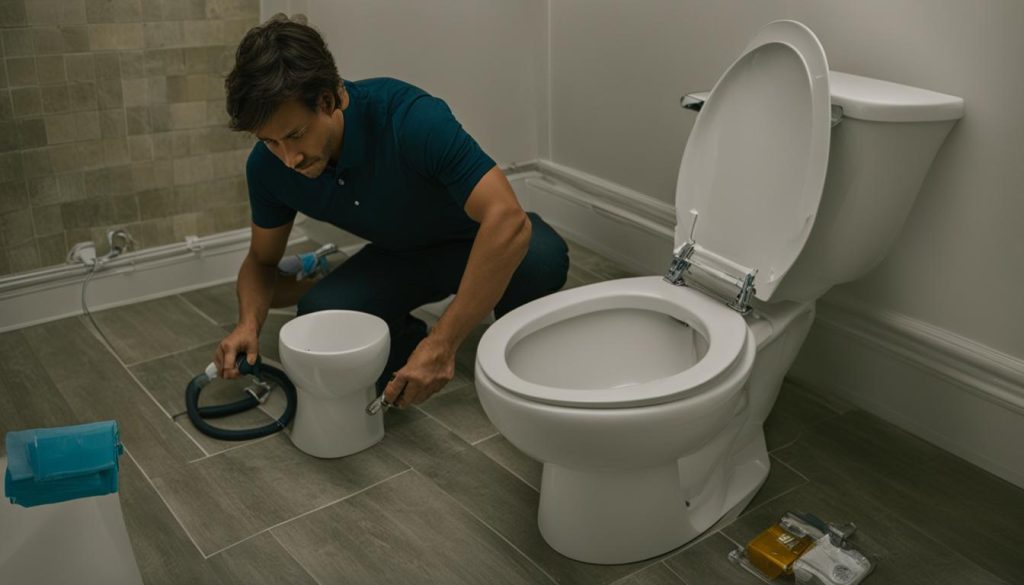
If you have the necessary plumbing in place, the installation process is similar to replacing a toilet. Follow these bidet installation steps:
- Begin by assembling the bidet according to the manufacturer’s instructions. Ensure all components are securely attached.
- Align the bidet over the drain and water supply lines. Make sure it is centered and level.
- Secure the bidet to the floor using hold-down bolts or screws provided. Tighten them evenly to prevent wobbling.
- Apply silicone sealant around the base of the bidet to create a watertight seal. Smooth out any excess sealant.
- Connect the water supply line to the bidet’s inlet valve. Use a wrench to tighten the connection.
- Install a shut-off valve on the water supply line for easy maintenance. This will allow you to turn off the water to the bidet if needed.
- Connect the bidet’s drain to the existing sewer or plumbing system. Consult a professional if you are unsure about the process.
- Turn on the water supply and check for any leaks. Adjust the bidet’s controls to ensure proper function.
Note: It is recommended to seek professional bidet installation services if you are unfamiliar with plumbing or uncertain about the process. A professional bidet installation will ensure proper functionality and prevent any potential issues.
| Advantages of Professional Bidet Installation | Disadvantages of DIY Bidet Installation |
|---|---|
| Expert knowledge and experience | Potential for errors or leaks |
| Assurance of proper installation | Time-consuming process |
| Professional-grade tools and equipment | May require additional plumbing modifications |
| Warranty and guarantee for the installation | Limited support for troubleshooting |
“Professional bidet installation ensures that every step is done correctly and that the bidet is fully functional. It provides peace of mind and saves you from potential headaches down the line.”
By following these steps or opting for professional bidet installation, you can enjoy the benefits of a freestanding bidet in your bathroom. It offers improved hygiene and a luxurious addition to your personal care routine.
Conclusion
Installing a bidet with warm water in your bathroom can bring numerous benefits to your daily hygiene routine. Not only does it provide a more effective and comfortable cleaning experience, but it also has the potential to save you money on toilet paper in the long run. Whether you opt for a bidet toilet seat, a bidet sprayer, or a freestanding bidet, the installation process is relatively straightforward when you have the right tools and instructions at hand.
By following the step-by-step bidet installation guide provided in this article, you can easily transform your bathroom experience and enjoy the many benefits that a warm water bidet has to offer. Say goodbye to harsh toilet paper and hello to a more thorough and refreshing clean every time you visit the bathroom.
Remember that proper hygiene is a crucial aspect of maintaining good health, and a bidet can help you achieve that. Take the plunge and invest in a bidet with warm water installation. Your bathroom and your body will thank you.
FAQ
How do I install a bidet with warm water in my bathroom?
Installing a bidet with warm water in your bathroom is a relatively straightforward process. Whether you choose a bidet toilet seat, a bidet sprayer, or a freestanding bidet, there are specific steps you can follow to ensure a successful installation. Let’s take a closer look at the installation process.
What should I consider before installing a bidet?
Before you start the installation process, there are a few things to consider. First, decide whether you want a bidet toilet seat or a bidet sprayer. You should also have a towel or bucket ready to catch any water that may come out during the installation. Additionally, if you prefer warm water, you’ll need to decide on the best option for achieving that, whether it’s using a T-valve or opting for an electric bidet model.
How do I install a bidet toilet seat?
Installing a bidet toilet seat is a simple process. Start by removing the existing toilet seat and cleaning the rim of the toilet bowl. Attach the bidet seat mounting plate and slide the bidet seat onto it. Make sure to secure all connections and test the bidet for proper function.
How do I hook up the bidet water line?
To hook up the bidet water line, you’ll need to detach the toilet’s flexible water supply hose and attach the bidet T-valve to the base of the tank. Connect the water supply hose to the lower connection of the T-valve and attach one end of the bidet hose to the upper connection of the T-valve and the other end to the bidet seat. Ensure all connections are secure and test the bidet for proper function.
What options do I have for having warm water with my bidet?
There are a few options for having warm water with your bidet. One option is to use a T-valve to bring hot water from the sink’s supply line. This option is suitable for non-electric bidet models. If you prefer an electric bidet with features like instant warm water, you will need an electrical outlet in your bathroom. Ensure that the outlet is protected by a ground fault circuit interrupter (GFCI) and follow the necessary electrical code requirements.
How do I install a hand-held bidet sprayer?
Installing a hand-held bidet sprayer is similar to installing a bidet toilet seat. Begin by determining the most convenient side of the toilet for the sprayer. Detach the toilet’s flexible water supply hose and attach the bidet T-valve to the base of the tank. Connect the water supply hose to the lower connection of the T-valve and attach the sprayer hose to the upper connection. Secure all connections and test the bidet sprayer for proper function.
How do I install a freestanding bidet?
Installing a freestanding bidet requires appropriate plumbing and may not be suitable for bathrooms with limited space. If you have the necessary plumbing in place, the installation process is similar to replacing a toilet. Begin by assembling the bidet and aligning it over the drain and water supply lines. Secure the bidet with hold-down bolts and apply silicone sealant around the base. Connect the water supply, shut-off valve, and drain, and test the bidet for proper function.
What are the benefits of installing a bidet with warm water?
Installing a bidet with warm water in your bathroom can provide numerous benefits, including improved hygiene and potential savings on toilet paper. Bidets with warm water offer a more comfortable and thorough cleaning experience compared to cold water bidets. Additionally, warm water can help soothe any discomfort or sensitivity you may have. By reducing the need for toilet paper, bidets can also contribute to a more sustainable and eco-friendly lifestyle.
