Installing a bidet may seem daunting, but with Tushy, it’s a simple DIY project. Unlike free-standing bidets, Tushy bidet seats and attachments can be easily installed in minutes using your existing toilet and basic tools. In this easy guide, we’ll walk you through the step-by-step process to install a Tushy bidet and upgrade your bathroom experience.
Key Takeaways:
- Installing a Tushy bidet is a simple DIY project that can be completed in minutes.
- You can use your existing toilet and basic tools to install a Tushy bidet.
- Ensure compatibility by identifying your toilet type and bowl shape before ordering a Tushy bidet.
- Gather the necessary tools and materials before starting the installation process.
- For bidet toilet seat installation, disconnect the existing flexible hose, attach the tank adapter, and connect the bidet seat.
Pre-Installation Steps
Before you start installing your Tushy bidet, there are a few important pre-installation steps to consider.
- Identify your toilet type and bowl shape: To ensure the bidet you order will fit properly, it’s crucial to determine your toilet type and bowl shape. Check the compatibility list provided by your bidet brand for specific measurements and requirements.
- Check for an outlet (if installing an electric bidet seat): If you’re installing an electric bidet seat, make sure your toilet has access to an outlet. It’s recommended to have a ground fault circuit interrupter (GFCI) outlet for safety.
Compatibility Example
For example, let’s say you have a standard elongated toilet with a compatible Tushy bidet seat. This information is important as bidet seats come in different sizes and shapes, such as round or elongated. Double-check your toilet’s specifications and compare them to the bidet’s compatibility list to ensure a proper fit.
Outlet Accessibility Example
If you’re planning to install an electric bidet seat, it’s essential to have an outlet near your toilet. Most bidet seats require an electrical connection to power their features, such as heated seats and water temperature control. Make sure there is a GFCI outlet within reach to avoid the use of extension cords or compromising safety.
Things to consider:
Before starting the installation process, it’s crucial to gather all the necessary tools and materials to ensure a smooth and successful installation.
| Tools | Materials |
|---|---|
| Screwdriver (flathead or Phillips-head) | Bidet seat or attachment |
| Towels for knee padding and spill cleanup | Mounting base plate |
| Bowl to catch water | Brackets |
| Bolts | |
| Rubber inserts | |
| Tank adapter | |
| Flexible hoseline | |
| Batteries (if applicable) | |
| Power cord (if applicable) |
Gather Your Tools and Materials
To install your Tushy bidet, gather the necessary tools and materials. You’ll need:
- Screwdrivers (flathead or Phillips-head, depending on your toilet seat screws)
- Towels for knee padding and spill cleanup
- A bowl to catch water
- The materials included with your bidet:
| Materials | Quantity |
|---|---|
| Bidet seat or attachment | 1 |
| Mounting base plate | 1 |
| Brackets | 2 |
| Bolts | 4 |
| Rubber inserts | 4 |
| Tank adapter | 1 |
| Flexible hoseline | 1 |
| Batteries (if applicable) | Depends on the model |
| Power cord (if applicable) | Depends on the model |
Make sure you have all the necessary tools and materials before starting the installation process. This will help ensure a smooth and efficient DIY bidet installation.
How to Install a Bidet Toilet Seat
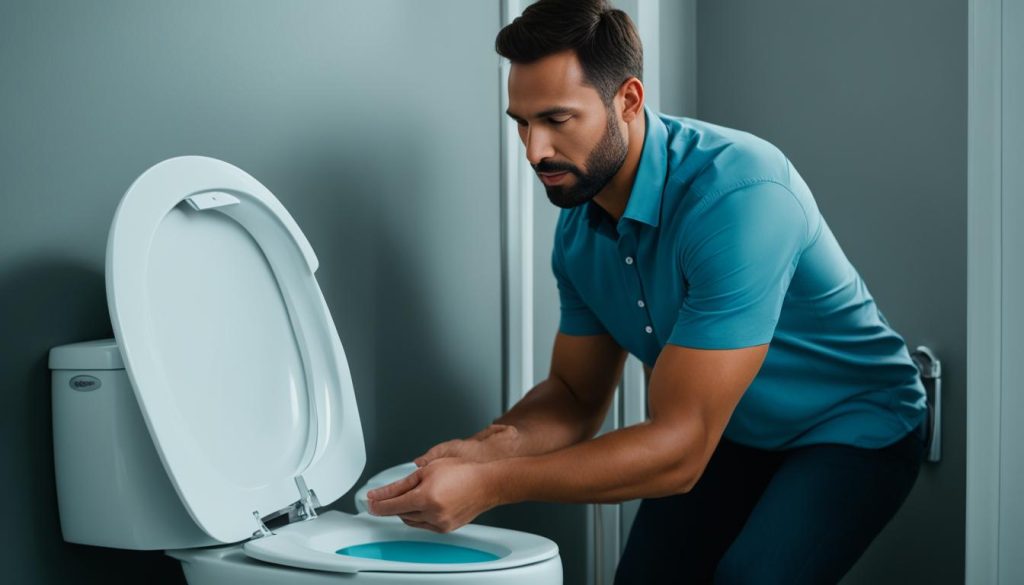
If you’re ready to upgrade your bathroom experience, installing a bidet toilet seat is a simple and rewarding project. With this step-by-step bidet installation tutorial, you’ll have your new bidet up and running in no time. Here’s an easy bidet installation guide:
- Start by turning off the water supply and removing the toilet seat.
- Disconnect the existing flexible hose from the toilet tank.
- Connect the hose to the tank adapter included with your bidet kit.
- Screw the top of the adapter onto the toilet tank securely.
- Attach the flexible hoseline from your bidet to the side connection of the tank adapter.
- Position the bidet seat base plate over the toilet bolt holes and align it with the tank.
- Slide the bidet seat onto the base plate until it clicks into place.
- Connect the open end of the hoseline to the bidet’s inlet port.
- Turn on the water supply valve.
- Check for any leaks to ensure a proper bidet installation.
Once you’ve completed these easy steps, you can sit back, relax, and enjoy the benefits of your newly installed bidet toilet seat. It’s time to experience the comfort and cleanliness of a bidet in the privacy of your own home.
| Tools and Materials | Required for Bidet Installation |
|---|---|
| Screwdrivers | Flathead or Phillips-head for toilet seat screws |
| Towels | For knee padding and spill cleanup |
| Bowl | To catch water |
| Bidet Kit | Includes bidet seat or attachment, mounting base plate, brackets, bolts, rubber inserts, tank adapter, flexible hoseline, batteries (if applicable), and power cord (if applicable) |
How to Install a Bidet Attachment
In this section, we’ll guide you through the step-by-step process of installing a bidet attachment. Follow these instructions to complete an easy bidet installation at your home.
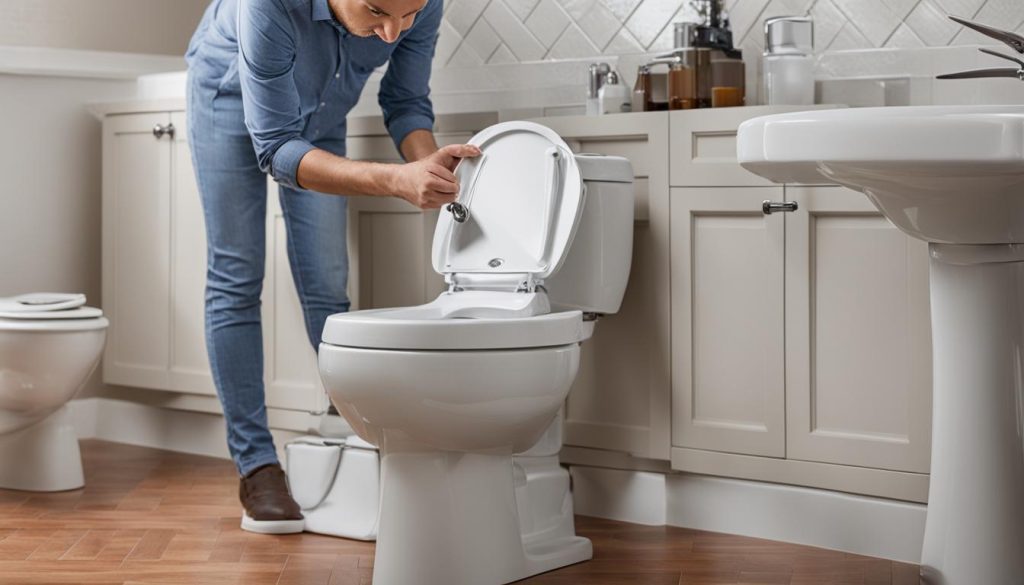
- Turn off the water supply and remove the toilet seat.
- Disconnect the flexible hose from the toilet tank and connect it to the side of the tank adapter included with your bidet attachment.
- Screw the top of the adapter onto the toilet tank securely.
- Attach the provided flexible hose to the bottom connection of the tank adapter.
- If your bidet attachment requires warm water, run an additional hoseline to your sink’s water hookups.
- Place the bidet attachment on top of the toilet, aligning the adjustable flanges with the mounting holes.
- Fasten the toilet seat on top of the bidet attachment by threading the bolts through the flanges and toilet’s mounting holes.
- Check for leaks before testing the bidet.
By following these easy steps, you can successfully install a bidet attachment in your bathroom. Enjoy the convenience and hygiene benefits of a bidet without the hassle of complex installation.
Enjoy Your Bidet!
Congratulations, you’ve successfully installed your Tushy bidet! Now you can start enjoying the benefits of a clean and refreshing bathroom experience. Adjust the water pressure and spray angle to your preference and sit down to use your bidet. Remember to turn the pressure knob slowly to avoid any unexpected sprays.
Take some time to familiarize yourself with the features of your bidet, such as seat warmers and bum dryers. These added functionalities provide enhanced comfort and convenience during use. You’ll wonder how you ever lived without them!
At Tushy, we offer a wide range of bidet collections to suit your bathroom needs. Explore our selection to find the perfect fit for your style and budget. If you’re not sure where to start, our bidet buying guide provides valuable insights and helpful tips to assist you in making the right choice.
FAQ
How do I install a Tushy bidet?
Installing a Tushy bidet is a simple DIY project. Start by identifying your toilet type and bowl shape to ensure the bidet will fit properly. Then, gather the necessary tools and materials, including screwdrivers, towels, and the bidet kit components. Follow the step-by-step instructions provided by Tushy to connect the bidet to your toilet’s water supply and mount it securely.
Do I need any special tools or skills to install a Tushy bidet?
No, you don’t need any special tools or skills. Basic tools like screwdrivers and towels are sufficient for installing a Tushy bidet. The installation process is designed to be simple, and Tushy provides detailed instructions to guide you through it.
Can I install a Tushy bidet on any toilet?
Tushy bidet seats and attachments are designed to be compatible with most toilets. However, it’s important to check the compatibility list provided by Tushy for your specific bidet model. This will ensure that the bidet fits properly on your toilet and functions correctly.
How long does it take to install a Tushy bidet?
Installing a Tushy bidet typically takes just a few minutes. The process is straightforward and can be completed quickly with basic tools and the step-by-step instructions provided by Tushy. Within minutes, you can have your bidet installed and ready to use.
Can I install a Tushy bidet if I don’t have an electrical outlet near my toilet?
Yes, you can install a Tushy bidet without an electrical outlet near your toilet. Tushy offers both electric and non-electric bidet options. If you don’t have an electrical outlet, you can choose a non-electric bidet attachment that relies on the water pressure from your toilet’s supply line. This allows for easy installation without the need for an electrical connection.
