Did you know a DIY bathroom remodel can save you thousands of dollars? That’s correct! By doing it yourself, you’re not just updating your space. You’re also adding to your savings.
Welcome to your complete guide on doing a bathroom DIY remodel. This guide is for everyone, whether you’re experienced or new to DIY projects. It will show you how to turn your old bathroom into a beautiful oasis.
We’ll talk about budget-friendly tips, the tools you need, and design ideas. Get ready to get your hands dirty and start one of the most fulfilling DIY projects at home.
So, are you ready to start this exciting bathroom renovation? Let’s begin and make your dream bathroom a reality!
Introduction to Bathroom DIY Remodeling
Starting a bathroom makeover can be thrilling and a bit scary. DIY projects let you change your space and save money. With good planning and the right steps, you can make a budget-friendly upgrade that shows your style.

Doing a DIY bathroom remodel can save you a lot of money. By doing the work yourself, you cut down on labor costs. These costs often make up a big part of what you spend on renovations. You also get to pick the materials, choosing ones that are affordable but still good quality.
DIY projects also let you learn new skills. As you work on your bathroom, you’ll pick up knowledge that helps with future projects. This not only saves you money but also makes you feel proud of what you’ve done.
“The 4 Day Bathroom Reno Workshop was a game-changer for my DIY skills. I learned so much about fixtures, tiling, and flooring.” – Katherine Connolly, Calgary AB
Before starting your budget bathroom upgrade, think about what you can do and what you want your design to look like. Good planning helps you avoid mistakes and makes sure your project goes well. Remember, a successful DIY bathroom remodel can give you a space you’ll love for many years.
Planning Your Bathroom Renovation
Planning a bathroom renovation is a big task that requires careful thought. A well-planned remodel can change your space and increase your home’s value. Let’s look at the main steps to make your project a success.
Setting a Budget
Your budget is key in your bathroom remodel. Mid-level renovations usually cost between $15,000 and $18,000. Big projects can go up to $30,000 or more. Think about getting a home equity loan for funding. But, remember, unexpected costs can happen, so add a little extra to your budget.
Creating a Timeline
Having a realistic timeline helps keep your project on schedule. Here’s a basic plan:
- Planning and design: 2 days
- Materials ordering: 2 weeks to 3 months
- Construction phase: 6 months
- Finish work: 19 days
- Decorating: 3 days

Choosing a Design Theme
Your design theme sets the mood for your new bathroom. Think about urban zen or large format cement-look tiles for a modern look. For small bathrooms, focus on using space well and making things functional. Combine practicality with your style to make a design that’s all your own.
“Your bathroom should be a perfect blend of function and style, a space that meets your needs while reflecting your personal aesthetic.”
A successful bathroom remodel is all about balancing your budget with your dream design. With good planning, you can make a space that’s both beautiful and functional. It should fit your lifestyle and budget.
Essential Tools and Materials for Your Remodel
Starting a bathroom DIY project means having the right tools and materials. First, gather a good set of tools for your project. For tiling, the Montolit Gold Line Blade is a favorite among DIYers. The Dewalt Wet Tile saw is great for cutting different types of tiles.
Choosing the right tools for bathroom fixtures is key. The Schluter Kerdi Trowel is essential for laying waterproof membranes. For grout, the Troxell Grout Float is recommended for both premixed and epoxy grouts.

Safety should always come first. Make sure you have quality protective gear:
- Dust masks
- Safety goggles
- Ear protection
- Knee pads
- Steel-toe boots
- Gloves
For cleaning up, think about renting a Fein Turbo Dust Extractor. It helps keep dust down during your remodel. If you’re working on plumbing, a Rigid Tubing Cutter makes cutting PEX easy.
Remember, renting tools can save you money and give you access to professional-grade equipment. With the right tools and safety gear, your bathroom remodel will be a success.
Safety Precautions and Preparations
First, safety is key in any bathroom renovation. Before starting your DIY projects, make sure you’re ready and protected. Begin your home improvement with the right gear and a safe place to work.
Personal Protective Equipment
Get ready for your bathroom renovation with important safety items:
- Safety goggles to shield your eyes
- Sturdy work gloves for hand protection
- Dust mask to keep harmful particles at bay
- Non-slip shoes for secure footing

Shutting Off Utilities
Before starting, turn off the water supply to your bathroom. Find the main shutoff valve for plumbing work. For electrical tasks, switch off the power at your home’s circuit breaker. If you’re unsure, get help from a professional to prevent accidents.
Protecting Existing Fixtures
Cover fixtures you want to keep with plastic sheeting. Use drop cloths to protect your floors from debris. Remove or cover outlets and light switches. This helps save time and money in your bathroom renovation by avoiding damage to items you’re not replacing.
Remember, a well-prepared workspace is crucial for a successful DIY bathroom remodel. Take these safety steps seriously to make sure your project goes well from start to finish.
Demolition: Removing Old Fixtures and Materials
Starting your bathroom DIY remodel with demolition is key to a successful project. This step means taking out old fixtures and materials to make room for new ones. Let’s look at the main steps of this cost-effective process.

Begin by clearing out small items and removing fixtures from walls. Always turn off utilities first. For water, find the shut-off valve, usually under the sink or near the main water line. About 90% of bathroom makeovers need you to disconnect water lines and drainage systems.
Then, take on the big fixtures. Start with the sink and vanity, then the toilet. For the bathtub, you’ll need a screwdriver, utility knife, and jig saw. If it’s hard to remove, cut it into smaller pieces. For the shower, use a wrench and pliers.
- Wear safety gear: face mask, goggles, gloves, and sturdy boots
- Use proper tools: hammer, chisel, utility knife, and pliers
- Remove tiles carefully, watching for lead in older homes
- Consider renting a dumpster for efficient debris disposal
About 80% of bathroom renovations involve taking out tiles or flooring during demolition. Be careful near plumbing and electrical systems to avoid damage. With good planning and action, your bathroom DIY remodel demolition will pave the way for your dream makeover.
Plumbing Considerations in Your Bathroom DIY Remodel
Working on bathroom plumbing in a DIY remodel can be challenging. Studies reveal that 90% of these projects end up with costly mistakes. Let’s look at important steps to make your project a success.
Assessing Existing Plumbing
First, check your current bathroom plumbing. About 70% of renovations reveal hidden problems. Look for leaks, corrosion, or old pipes. This helps avoid future issues and shapes your remodel plans.
Rerouting Pipes for New Layouts
If you’re changing your bathroom’s layout, you might need to move pipes. Between 35% to 50% of remodels involve moving fixtures. This often requires expert help to ensure the water flows right and drains well.

Installing New Plumbing Fixtures
Updating bathroom fixtures is a common choice. About 80% of remodels include plumbing changes. When picking new fixtures, think about how efficient they are and if they fit with your current system.
Remember, updating plumbing can greatly affect your remodel’s success. Working with a pro can boost efficiency by up to 30%. They’ll make sure your new bathroom looks and works perfectly.
“Good plumbing is invisible, but its absence is quickly noticed.”
Electrical Work: Upgrading Your Bathroom’s Power
Upgrading your bathroom’s electrical system is key for any home improvement. Modern bathrooms need more power, making electrical updates a wise choice. Let’s look at how to boost your bathroom’s lighting and power.

Begin by swapping your 15-amp circuit for a 20-amp one. This change supports high-powered devices and meets today’s bathroom needs. Add GFCI outlets near water for safety. It’s smart to have outlets every 4 feet for easy access.
Think about these lighting options for your bathroom:
- Task lighting around the vanity
- Ambient lighting for overall illumination
- Accent lighting to highlight decor
Go for at least 150 watts of lighting at the vanity for the best light. LED fixtures are energy-efficient and can raise your home’s value. Remember to update your exhaust fan every 10 years.
Renovated bathrooms with modern electrical features can increase home value by 2.7% on average.
Always hire a licensed electrician for these updates. They make sure your electrical system is up to code and safe. With these changes, you’ll have a brighter, more useful bathroom for many years.
Installing Proper Ventilation and Lighting
Upgrading your bathroom’s ventilation and lighting is key for a DIY remodel. A good exhaust fan and lighting can change your space. They make it work better and look better too.
Look for exhaust fans from top brands like Broan-NuTone and Panasonic. Broan-NuTone has fans for all budgets, and Panasonic is great for saving energy and being quiet. Pick a fan that moves 1 CFM per square foot of bathroom space for the best results.

Installing an exhaust fan is a bit of work, taking 6-8 hours. You’ll need safety glasses, a drill with a hole saw, and a non-contact voltage tester. Getting a new fan installed, including ductwork, costs between $200 and $800.
For lighting, mix ambient, task, and accent lights. Think about these choices:
- Ceiling fixtures for overall light
- Vanity lights for grooming
- Recessed lights for a clean look
- Decorative sconces to match your decor
Good ventilation and lighting make your bathroom work better and look better. With smart choices, you can have a bright, dry space that shows off your style.
Waterproofing and Moisture Control Techniques
A bathroom renovation must include waterproofing and moisture control. These steps protect your investment and prevent water damage. Let’s explore how to keep your bathroom dry and safe.
Selecting Waterproof Materials
Choose materials that can handle constant moisture. Cement board and RedGard are great for wet areas. They stop water from getting through, keeping your walls and floors dry.

Applying Vapor Barriers
Vapor barriers are key for moisture control. They stop water vapor from getting into walls and causing damage. Put these barriers behind tile and in moist spots for extra protection.
Sealing Joints and Edges
Don’t forget the small stuff. Seal all joints and edges well to keep water out. Use top-notch silicone caulk around fixtures, tubs, and showers. This step stops water from getting into cracks and causing future issues.
Good waterproofing can save you a lot of money on repairs later. Fixing water-damaged bathroom flooring can cost between $350 and $1,200. By using proper moisture control now, you’ll have a dry, beautiful bathroom for many years.
“Water is patient. It can wait years to find that one small crack and cause extensive damage. Don’t give it a chance.”
If you’re not sure about waterproofing, think about hiring a pro. They know how to make sure your bathroom renovation has great moisture control. This gives you peace of mind and a lasting result.
Bathroom DIY Remodel: Flooring Installation Guide
Installing flooring in your bathroom can be a fun DIY project. With the right materials and tools, you can change your space and increase your home’s value.
When picking bathroom tiles, think about how tough they are and how they look. Black hexagon tiles give a sleek, modern style. Use a Schluter-DITRA uncoupling membrane for waterproofing and to spread the load evenly.

Pick your adhesive carefully. Mapei or Schluter ALL SET Mortar are good with uncoupling membranes. For grouting, a premixed black grout matches your tiles well.
If you’re watching your budget, vinyl plank flooring is a great choice. It’s cheap, easy to put in, and looks like pricier materials. Some options, like Shaw VersaLock, only need simple tools for installation.
- Remove toilet and baseboard trim
- Measure and cut new flooring
- Install flooring as the maker says
- Put back trim and fixtures
Remember to plan for extra materials. Online tools can help figure out how much you’ll need. Always get extra tiles or planks for mistakes or future fixes.
With good planning and doing it yourself, you can finish your bathroom flooring in a few hours for about $50. You’ll get a new look that also raises your home’s selling price.
Wall Treatments: Tiling, Painting, and More
Your bathroom walls set the tone for your entire space. From sleek tiles to bold paint colors, the options for wall finishes are endless. Let’s explore how to transform your bathroom walls into stunning features.
Preparing Walls for Tile or Paint
Start by making sure your walls are clean, dry, and smooth. Fill any holes or cracks with spackle. Then, sand the surface for a flawless finish. This prep work is key for both tiling and painting projects.
Choosing the Right Wall Finishes
Bathroom decor trends offer exciting options for wall treatments:
- Geometric tiles add a colorful, patterned look
- Slatted wood walls create a gorgeous accent
- Floor-to-ceiling tiles provide a cohesive feel
- Wallpaper brings in bold prints and patterns

Application Techniques
For tiling, use spacers and leveling tools to ensure even placement. When painting, choose moisture-resistant paint with a semi-gloss finish. For a budget-friendly option, try peel-and-stick tiles. They’re easy to install and can transform your bathroom in a day.
Remember, wall finishes should complement your overall design theme. Whether you choose sleek bathroom tiles or a painted mural, your walls will play a key role in your bathroom’s new look.
Installing Your New Shower or Bathtub
Are you ready to change up your bathroom? Installing a new shower or bathtub is a big part of your DIY project. It’s exciting, with 56% of homeowners feeling super happy about it. Let’s look at the basics of putting in a shower and replacing a bathtub.

First, pick out your new fixtures. It’s important to choose the trim kit before you start plumbing the new valve into the shower wall. In fact, 116 out of 200 plumbing pros suggest this method. Also, 40% of trim kits need specific designs based on their brand and model.
For showers, make sure the base is sloped right and put in a waterproof pan liner. Make sure to focus on keeping shower walls and enclosures waterproof and sealed. If you’re replacing a bathtub, make sure it’s well-supported and level before you secure it.
- Check if your fixtures fit your valves
- Use a full shower system for better waterproofing
- Add niches for extra storage and ease
- Do a water test to check the seal
Be ready for some challenges. About 15% of DIY projects run into issues with how the fixtures work. If you hit a snag, don’t stress. 72% of people look online for help with plumbing problems related to bathtubs and showers.
“Proper planning and attention to detail can make your shower or bathtub installation a success, transforming your bathroom into a functional and beautiful space.”
With the right planning and doing things right, you’ll soon be enjoying your new shower or bathtub. It will be the highlight of your bathroom makeover.
Vanity and Sink Installation Tips
Upgrading your bathroom vanity and sink can make your space look new. Choosing the right vanities and learning how to install sinks are important steps for a DIY remodel.
Selecting the Right Vanity
Think about style and function when picking bathroom fixtures. Make sure to measure your space well for a perfect fit. Popular countertop materials are Carrara marble, granite, and laminate. Always measure your current vanity to know what to expect.
Mounting and Leveling
First, turn off the water valves and disconnect the supply lines. Remove the old vanity by cutting caulk and unscrewing it from the wall. Use spackling compound to fix any holes.
To mount your new vanity:
- Find wall studs
- Drill pilot holes
- Attach the vanity with 3-inch drywall screws
- Use shims to level it if needed

Connecting Plumbing
Follow the sink’s installation guide closely. Put the faucet and drain assembly on before attaching the sink to the vanity. Reconnect the water lines and attach the P-trap. Always check for leaks after you’re done.
“Proper installation of bathroom vanities and sinks is crucial for both functionality and aesthetics. Take your time and don’t hesitate to seek professional help if needed.”
If plumbing work makes you nervous, think about hiring a licensed plumber. A well-done vanity and sink installation can greatly improve your bathroom’s look and feel.
Toilet Installation and Replacement
Installing a new toilet can make your bathroom look fresh and updated. It’s a crucial part of any bathroom remodel, balancing cost with functionality. While doing it yourself can cut down on labor costs, it takes special tools and a lot of time.

To install a toilet right, you’ll need a wrench, pliers, and a level. First, center and square the bolts on the flange. Then, put the wax ring in place and carefully lower the toilet, making sure it’s even. Finally, tighten the bolts well.
Keep these tips in mind for plumbing updates:
- Turn off the water supply before starting
- Remove the old toilet by detaching water lines and floor bolts
- Fix any drywall damage before putting in the new fixture
- Use the right materials for connections to avoid leaks
Doing it yourself can be fulfilling, but hiring a pro has its perks. Professionals bring expertise, handle surprises, and often offer warranties. This can save you money over time by reducing the chance of leaks and water damage.
“A properly installed toilet is the cornerstone of a functional bathroom. Whether DIY or professional, prioritize accuracy and safety in your installation process.”
Think about your skills and the complexity of your bathroom when choosing between DIY and a pro. The aim is a toilet that works well and makes your bathroom look better.
Adding Final Touches: Mirrors, Storage, and Accessories
Your bathroom remodel is almost done. Now, it’s time to add the final touches. This part makes your space look amazing. Let’s see how to make your bathroom better with mirrors, storage, and decor.

First, pick a mirror that fits your style. Mirrors with stylish frames are useful and make your bathroom look better. Think about adding dimmable lights around the mirror for different moods.
Then, focus on storage to keep things neat. Use unique furniture like an armoire for style. Add floating shelves or over-toilet storage to use space well. Don’t forget to add decorative knobs and handles for more texture.
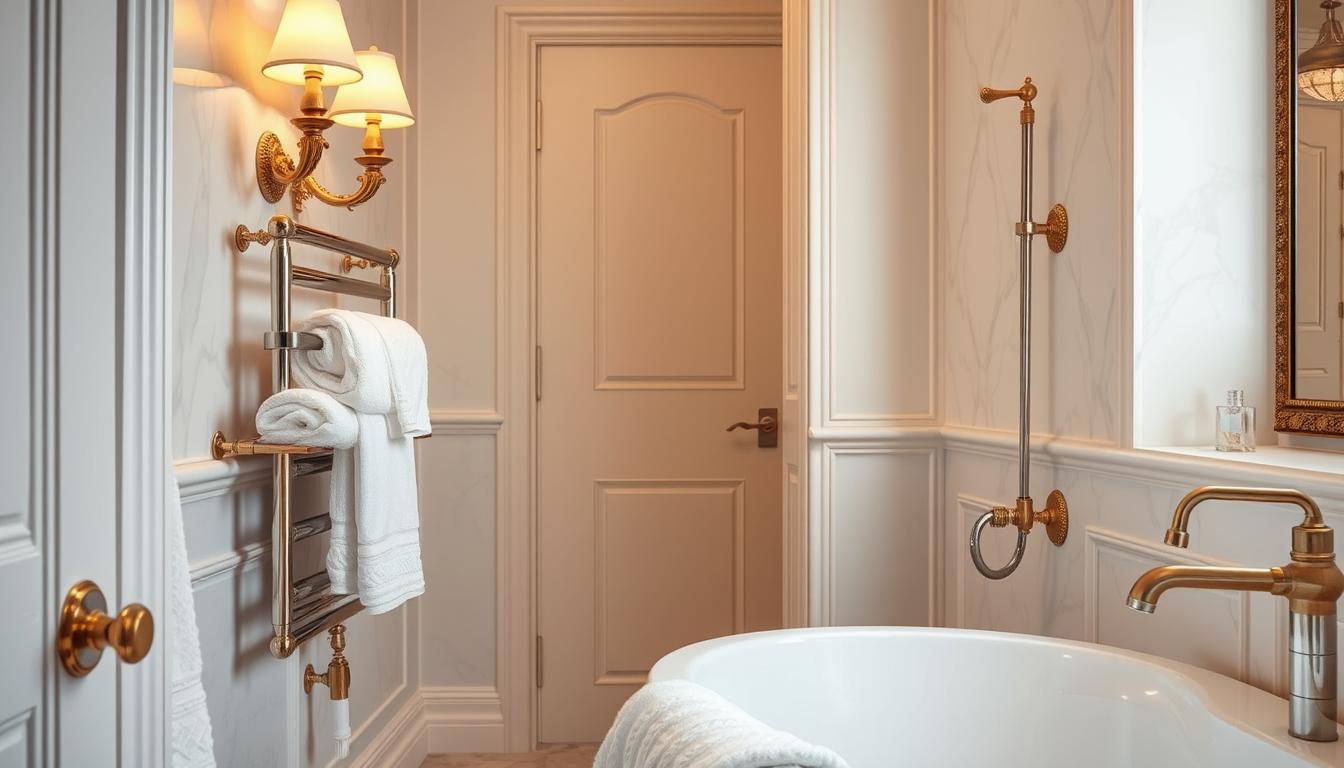
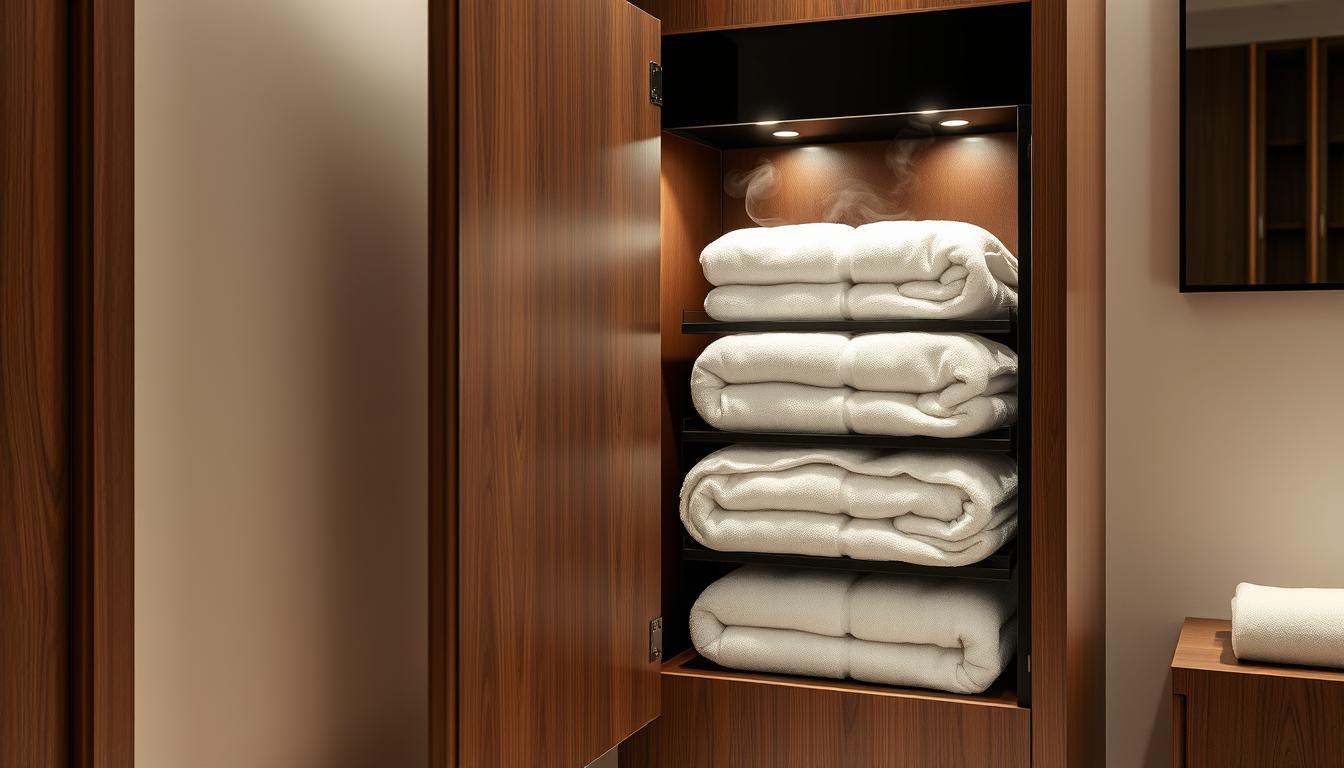
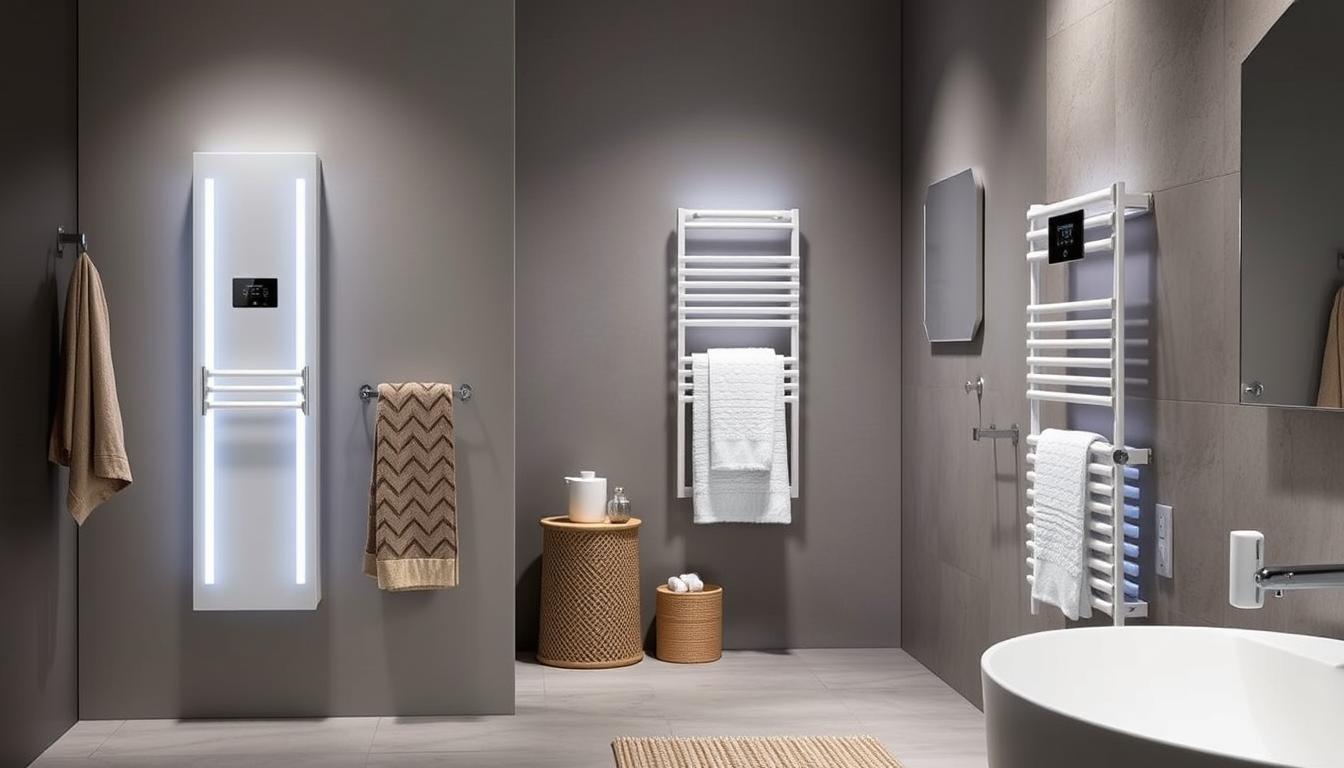
- Choose plush bath towels and a towel warmer for added luxury
- Add greenery to boost mood and relieve stress
- Select bathroom accessories that match your color scheme
When picking decor, go for a unified look. Use color and texture with shower curtains, bath mats, and art. These add a cozy feel and make your space your own.
“Small details make a big impact in bathroom design. Choose accessories that reflect your style and enhance functionality.”
Balance is key in bathroom accessories and decor. Mix useful items with decorative ones for a space that looks good and works well. With these final touches, your DIY bathroom remodel will show off your style and meet your needs.
Final Thoughts
Your bathroom DIY remodel is finished, and you should be proud of your new space. This project has not only changed your bathroom but also taught you a lot. Remember, remodeling a bathroom can cost a lot, from $20,000 to $100,000. But with smart planning, you managed to do it for just $476!
You saved a lot of money by painting, updating fixtures, and choosing affordable materials. By doing it yourself, you saved $24,524 compared to hiring professionals. Using peel-and-stick tiles, epoxy countertops, and creative hardware was a smart move.
Now, enjoy your updated bathroom and think about what you learned. Good planning, research, and being willing to work hard are key to a successful remodel. Keep these skills for future projects and be proud of what you’ve done. Your bathroom shows what you can achieve with creativity, hard work, and determination.